CA
CATABLE OF CONTENTS
How to Repair Damaged Cable Railings Without Calling the Experts
Is your cable railing beginning to show signs of looseness or wear? Before you rush to phone the experts, take heart; a solution is well within your reach. This article is designed to walk you through the necessary steps to repair those cables, ensuring your railing returns to its optimal condition—sturdy and secure. With clear, easy-to-follow guidance, we're here to help you tackle the job with confidence.
What Do You Need to Know About Your Cable Railings?

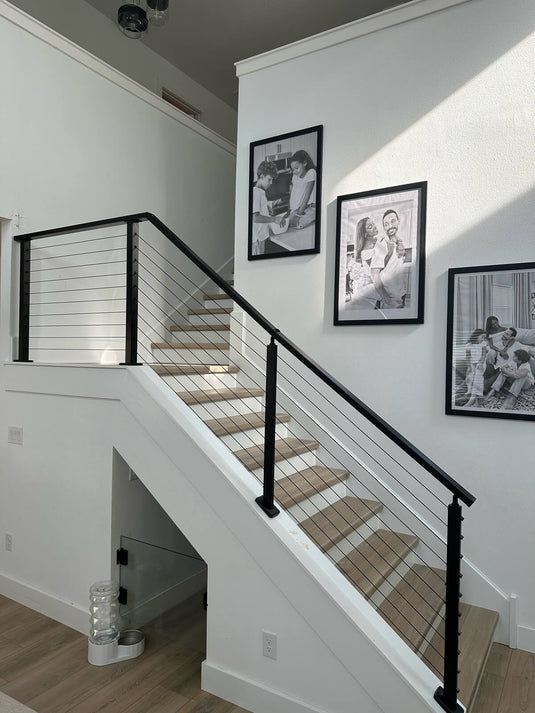
Getting to grips with the parts of your cable railing is the first step before making any repairs. Here's what you need to know:
The Parts:
- Posts: These vertical supports hold the whole railing system up.
- Handrails: The part at the top that you hold on to, running along the length of the railing.
- Cable Wires: Thin, strong metal wires that run through the posts.
- Tensioners: Devices attached to the end of each wire that keep the cables tight.
Common Problems:
- Loose Cables: If they're not firm and straight, they need tightening.
- Unsteady Posts: Posts should be solid and immovable; if they wiggle, they may need fixing.
- Rust: Metal parts should be free of any orange or brown spots, which are signs of rust.
- Damaged Handrails: Check for splits, cracks, or any sign that the handrails are less than sturdy.
- Faulty Tensioners: These should hold the cables tight; if they're not working, the cables will sag.
Knowing these parts well means you'll be able to spot issues quickly. Regular checks can help nip problems in the bud, keeping your cable railing looking good and functioning safely.
What Tools and Materials Will You Need for Cable Railing Repairs?
To fix your cable railing up right, you'll need the correct tools and materials on hand. Don't worry, we're not talking about a truckload of equipment — just a few essentials will get the job done.
| Category | Items | Use | Additional Notes |
| Must-Have Tools | Cable Cutters | To cut through old or damaged cables | Get a cutter with ergonomic handles for comfort |
| Must-Have Tools | Crimping Tool | For securing fittings onto the cables | Ensure it's compatible with your cable size |
| Must-Have Tools | Wrench Set | To tighten bolts and tensioners | A set of both metric and imperial might be necessary |
| Must-Have Tools | Measuring Tape | For precise measurements | A tape that locks in place can help with accuracy |
| Must-Have Tools | Allen Keys/Hex Wrenches | To adjust hex screws | A complete set with various sizes is recommended |
| Handy Materials | Replacement Cables | Match the diameter/type of existing ones | Stainless steel cables are often used for their durability |
| Handy Materials | Fittings | Parts that attach the cable to the posts | Keep various sizes as backups |
| Handy Materials | Tensioners | To keep cables taught | Extra tensioners can be critical for immediate repairs |
| Safety Gear | Gloves | To protect hands from sharp ends | Durable yet flexible gloves offer best protection |
| Safety Gear | Safety Glasses | To shield eyes during work | Ensure they are anti-fog for clear vision during work |
| Additional Tools | Torque Wrench | To apply a specific torque to a fastener | Useful for ensuring tensioners are properly tightened |
| Additional Tools | Thread Locker | To prevent loosening under vibrations | Applied to threads of bolts and screws |
| Additional Tools | Cable Railing Gauges |
For spacing cables consistently |
Helps maintain equal spacing between cables |
| Additional Tools | Drill with Metal Drill Bits | For making pilot holes in metal posts | Use bits designed for metal; consider cobalt or titanium |
| Additional Tools | Deburring Tool | To smooth out any rough edges after cutting | Creates a safer environment by removing sharp edges |
| Additional Tools | Cable Lubricant | For maintaining the smooth operation of cables and fittings |
Use a non-greasy lubricant suitable for metal |
Using the right tool for the job is not just about making the work easier — it’s also about making it safer and ensuring a quality fix.
How to Prepare for Repairing Your Cable Railings
Before jumping into the repair work, creating a safe workspace and properly preparing are crucial. Here’s how to set the stage for a successful fix:
Safety Procedures:
- Clear and Secure the Work Area: Make sure you have plenty of room to move around by clearing away any furniture or objects that could get in your way. A tidy space minimizes the risk of tripping or knocking over tools while you're focused on the task at hand.
- Notify House Members: Let everyone in your home know that you'll be working on the railing. This keeps them alert to avoid the work area, reducing the risk of someone accidentally bumping into you or the tools.
- Power Off Electricals: If you’re within reach of any electrical outlets or fixtures, it's best practice to turn off the power from the main breaker for that section of your home. Electricity and metal tools don't mix well, and it's always better to err on the side of caution.
Setting Up Your Workspace:
- Support Wobbly Posts: If any posts are loose, temporarily brace them with clamps or wooden supports to keep them steady as you work. This not only makes the repair process easier but also prevents potential damage to other parts of the railing.
- Gauge Existing Tension: Before loosening anything, feel the tension of the existing cables. This will give you a baseline for how taut they should be once the repairs are complete. You can even use a luggage scale to measure the force if precision is necessary.
- Plan Your Steps: Take a moment to mentally walk through each phase of the repair. Anticipating what comes next helps streamline the process, allowing you to perform each step methodically without rushing.
After taking these safety precautions and setting up your environment, you'll not only create a safer place to work, but you’ll also be setting yourself up for a smoother repair experience. Proper preparation helps prevent mishaps and ensures that your cable railing repair goes off without a hitch.
How to Fix Common Issues with Cable Railings? Step-by-Step Guide
Here's a practical guide to help you tackle the most common cable railing repairs at home. Remember, safety comes first, so always wear protective gloves and goggles when handling tools and materials.
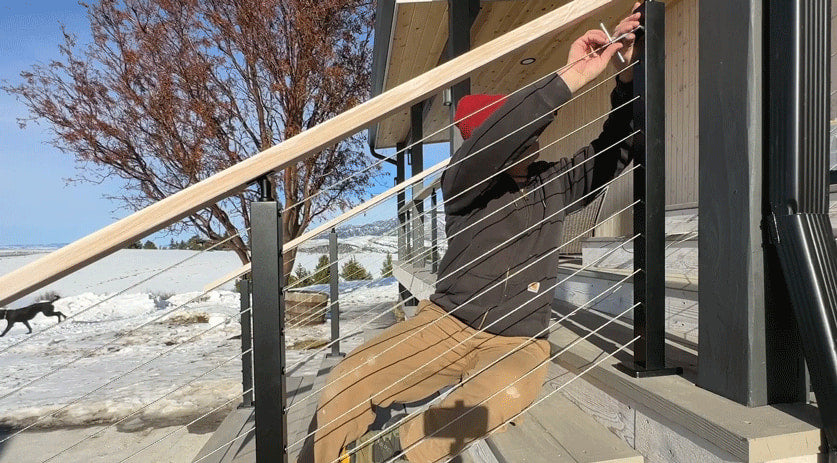
Tightening Loose Cables
- Locate the Loose Ones: Gently push on each cable to see which ones are not as tight as they should be.
- Turn the Tensioners: Using a wrench, turn the tensioner screws associated with the loose cables. Right-turns typically tighten them, but check your system's manual to be sure. Do several small turns and keep checking the tension by hand.
- Balance the Tension: Work your way down the line, adjusting each tensioner incrementally to maintain an even distribution of tension among all cables.
- Final Check: Push on the cables again after tightening to make sure they all feel uniformly firm and don't sag.
Replacing Damaged Cables
- Release the Tension: Loosen the tensioner to release the damaged cable from its fittings.
- Take Exact Measurements: Measure the length of the cable that needs replacing carefully, and cut a new piece to this exact dimension using your cable cutters.
- Attach New Fittings: Fit the new cable ends into their respective fittings and use your crimping tool to secure them in place.
- Thread and Tension: Run the new cable through the post holes, attach it to the tensioners, and adjust the tension to match the other cables.
Fixing Post Issues
- Stabilize Posts: If posts are wobbling, identify if they're unstable at the base or higher up. For base issues, tighten any visible bolts with your wrench set; if higher, you might need additional hardware for support.
- Secure Once Tightened: After tightening, give the post a light shake to ensure it no longer moves.
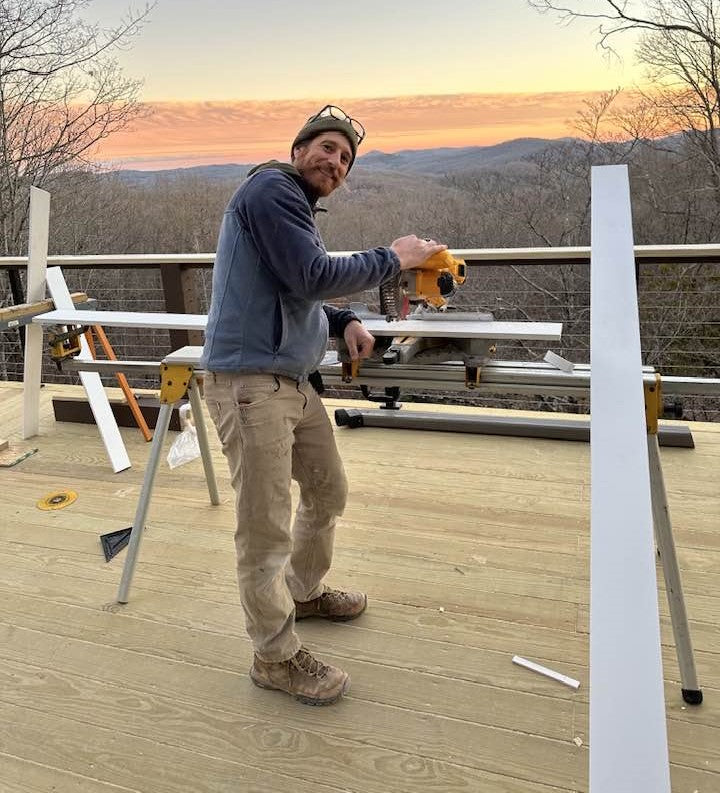
Addressing Handrail Damage
- Evaluate the Extent: Identify where the damage is and how severe it is. Minor damage could be fixed while significant damage may require replacement.
- Stabilize Minor Cracks: For small issues, wood glue can bind cracks, and metal brackets can reinforce splits.
- Replace if Necessary: If a section is beyond repair, remove it by unscrewing it from the posts, get a new piece that matches the size and style, and install it securely in place.
- Double-Check Stability: Make sure that the repaired or replaced handrail doesn't move and is solidly in place.
It's important to regularly inspect and maintain your railing to prevent these issues from reoccurring. If you ever feel uncertain about a repair or if it involves complex structural issues, don’t hesitate to call a professional. Safety is paramount, and some repairs may require specialized knowledge or skills.
How to Complete Your Cable Railing Repairs with the Right Finishing Touches
After completing the functional repairs on your cable railing, putting in a little extra effort to refine the aesthetics and confirm everything is secure will ensure your work not only holds up safety-wise but looks good too.
Aesthetic Considerations Post-Repair
Once the repairs are done, it's time to give attention to the finishing touches:
- Paint Touch-Ups: If any of the posts or handrails were scratched or if exposed areas need covering, use rust-inhibiting paint that matches the existing color. This will prevent corrosion and keep the railings looking uniform.
- End Caps: Check that all end caps or other decorative elements are back in place. These serve both an aesthetic purpose and often protect the cable ends from the elements. Replace any missing or damaged caps as needed.
Quality Checks for Safety and Performance
Perform a thorough inspection to ensure the integrity of your work:
- Tension Consistency: Go over each cable to check that the tension is consistent and correct. Uneven tension can lead to structural issues over time.
- Bolt and Screw Tightness: Re-examine all fastened components to ensure nothing has come loose during the repair process. All hardware should be snug against the railing parts.
- Load Testing: Apply gentle pressure on various sections of the railing to simulate typical use, ensuring nothing shifts or creaks.
Cleaning Up the Work Area
Leaving your work area clean is just as important as the repair itself:
- Gather Tools and Leftover Materials: Collect all the tools and any leftover materials to store them properly. You might need them for future maintenance or repairs.
- Dispose of Waste Responsibly: Any old cables, fittings, or debris from the repair process should be discarded responsibly. Recycle materials where possible and follow local disposal regulations for waste.
- Sweep and Inspect the Area: Give the area a final sweep to remove any small pieces that could be a tripping hazard or cause harm later. Also, inspect the repair site one last time to make sure you didn't miss any small details.
Finishing up with these steps will add longevity to your repair job and keep your cable railing system not only functioning well but also looking its best. A clean, well-maintained railing is a pleasing addition to your property and ensures the safety of those who use it.
Final Thoughts
Doing your own cable railing repairs is a practical and satisfying way to ensure safety without calling in the experts. By using this guide, you've probably saved time and money while keeping your railings safe and secure. The main points to remember are: familiarize yourself with the different parts of your railing, have the right tools close by, and tackle repairs step by step. Now that you've successfully fixed any issues, you can enjoy the clean look and sturdy feel of your cable railings once again. Just keep an eye out for any signs of future wear, and know that if something comes up, you're well-equipped to handle it. After all, maintaining a safe and inviting outdoor space is always worth the effort.